Published On Feb 6, 2017
Whether you are looking to install a floating shelf or a bracketed shelf, this video can help with simple clear instructions. Learn how to put up a shelf with this step by step guide from one of our Wickes experts.
Subscribe to the Wickes YouTube channel here: http://po.st/KBc6GS
For more Wickes videos click here: http://po.st/BLYHbr
Before putting up your shelf, decide where to put the shelf, and check the wall for pipes and cables with a pipe and cable detector. In order to get the strongest shelves it's best to drill into masonry walls. Alternatively you can drill into the timber studs in stud walls. Timber studs can be located using a pipe cable and stud detector (it is not advisable to fit shelving to hollow areas of stud walls as it won't be strong enough).
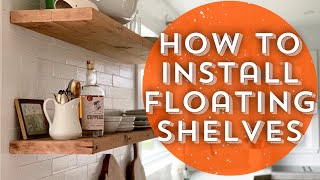
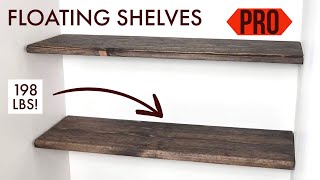
How to put up a floating shelf:
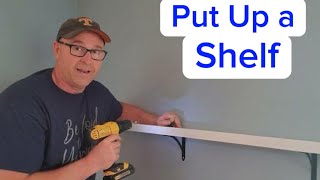
1. Begin by placing one of the wall brackets at the required height.
2. Measure the distance for the next bracket and use a spirit level to mark its position.
3. Ensure it's 100% level with the previous mark, otherwise the shelf will be slanted.
4. Mark the length of your wall plugs on your drill bits using tape, put goggles on and drill holes in the wall where your marks are.
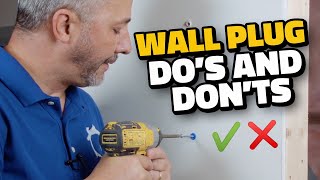
5. Insert the appropriate wall plugs for the type of wall you're screwing in to and tap them gently with a hammer if necessary.
6. Now fix the bracket in place then slide the shelf on to the brackets and secure it on to the bracket arm from the underside.
How to put up a bracketed shelf:
1. Begin by placing one of the wall brackets at the required height.
2. Make sure it's level using a spirit level and mark the top of the bracket and where the holes in the bracket are on your wall.
3. Measure the distance for the next bracket and using a spirit level mark its position.
4. Make sure it's level with the previous mark otherwise you will have a slanting shelf.
5. Place the other wall bracket at the required height, double check its level and mark where the holes in the brackets are on your wall.
6. Then, mark the length of your wall plugs on your drill bit using tape. Put goggles on then drill holes in the wall where your marks are.
7. Then insert the appropriate wall plugs for the type of wall you're screwing in to and tap gently with a hammer if needed.
8. Fix the brackets in place, double check they are level and position the shelf board making sure it's centred on the brackets and mark the positions of the fixing screws using the holes on the brackets.
9. Drill pilot holes in the shelf ensuring you don't drill all the way through the board.
10. Attach the board with screws and your shelf is ready.
Watch more helpful DIY videos from Wickes below;
How to Home Maintenance with Wickes: http://po.st/fNQHrJ
How to Paint and Decorate with Wickes: http://po.st/IDBlHP
Shop hammers at Wickes here: http://po.st/NJNhBv
Shop screwdrivers at Wickes here: http://po.st/CHeSUe
Shop drills at Wickes here: http://po.st/61JazY
Buy a pipe, cable and stud detector at Wickes here: http://po.st/IEqw2L
Subscribe to the Wickes YouTube channel here: http://bit.ly/1WHJIIr
In addition to our video, we recommend you read our 'How To Guide - How to create storage space'. Use this guide to find out how to choose and calculate your materials, tools and safety equipment. http://www.wickes.co.uk/how-to-guides...
For more tips and general advice on how to do it yourself from Wickes, you can visit;
Wickes Website: http://www.wickes.co.uk/
Wickes Facebook: / wickes.co.uk
Wickes Twitter: / wickes
Wickes Google+: https://plus.google.com/1153898122995...
Wickes YouTube channel: / wickesvideo