Published On Oct 16, 2023
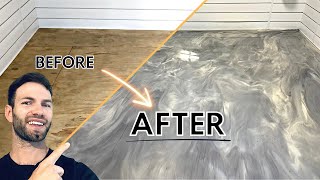
In this video, I take you through a step-by-step journey on how to transform your garage floors to give them a professional finish – all by yourself.
Steps Covered:
0️⃣ 00:00 Before
1️⃣ 00:19 Clear Out Garage – Create a clean workspace to get started.
2️⃣ 00:38 Sweep – Make sure no debris comes between you and a perfect finish.
3️⃣ 1:29 Clean and Etch – Preparing the floor for that perfect bond.
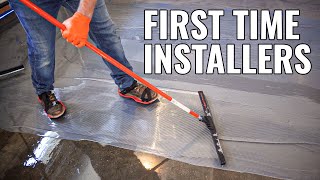
4️⃣ 2:25 Rinse The Floor – Setting the stage for a flawless application.
5️⃣ 3:20 Cut In The Edges and Seams – Precision is key!
6️⃣ 3:35 Paint Using A Roller – Techniques to get a uniform layer.
7️⃣ 3:47 Apply Decorative Chips (Broadcast) – Add a touch of style to your garage floor.
8️⃣ 06:30 Apply Top Coat – Seal in your hard work for a durable, lasting finish.
9️⃣ 06:45 Before and After
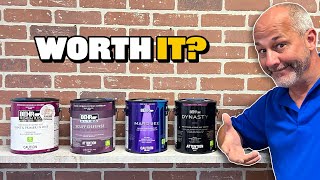
Products used:
ETCH AND CLEAN: https://thd.co/3QjjJex
EPOXY PAINT FOR CONCRETE AND GARAGE FLOORS: https://thd.co/3rMkyDg
DECORATIVE PAINT CHIPS: https://thd.co/3PUm669
CLEAR TOP COAT: https://thd.co/46zy9wI
ANTI-SKID ADDITIVE: https://thd.co/3tBa7D3
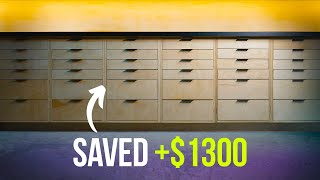
Why spend thousands when you can achieve a professional-looking floor for just $250 in materials? Dive in to learn how to save big while giving your garage a makeover it deserves. If you find value in this tutorial, don't forget to like, share, and subscribe for more DIY tips and tricks! 💡 #EpoxyFlooring #DIYGarage #HomeImprovement" #paintyourgarage