Published On Mar 17, 2024
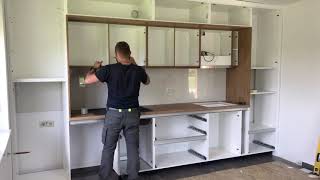
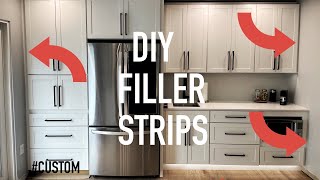
One of the last steps for this custom cabinet project was to fill the voids above and adjacent to the installed cabinets. This video shows the process of scribing filler strips to the ceiling above a row of upper cabinets in the pantry.
The filler material was cut and finished at the same time as the cabinet doors, both of which were made using Euro-core white birch plywood. The filler strips were grain-matched to the doors. Because the grain of the doors ran vertically, the length of the filler strips was limited to approximately 4 ft. Where the run of cabinets exceeded this length, adjacent strips were joined with a 30-degree scarf joint.
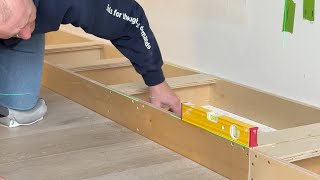
Plywood frames set atop the cabinets were used to set the proper projection (~1/8”) from the cabinet boxes, such that the filler strips were flush with the door faces. A site-made jig was used to temporarily hold the pre-finished pieces a known vertical distance from their final position to enable scribing. Once scribed, the cross-grain of the strips was severed with a utility knife (to prevent chip-out) before being slightly back-beveled with a jig saw.
The filler strip frames were attached to the cabinets from above to conceal the screws. The filler strips were attached to the frame with headless 23 ga. pins.
Music:
Music from #Uppbeat (free for Creators!):
https://uppbeat.io/t/tatami/wild-hunt
https://uppbeat.io/t/tatami/residence
https://uppbeat.io/t/barry-dallas/hot...