Published On Jun 10, 2023
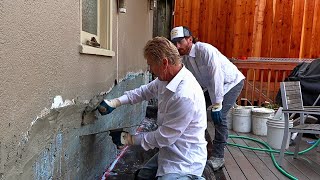
In todays video, we’re going to show you how to plaster a wall using Lime plaster. This is extremely important for older buildings because they are built to breath.
A lot of modern day plasters don’t allow walls to breath which means that all the moisture is trapped between the bricks. This can lead to damp issues further down the line which is why it’s so important to use a lime based plaster.
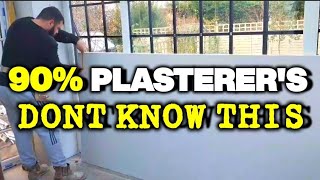
So today, we’re going to walk you through the full process on Lime plastering for beginners. There’s 3 stages to applying and finishing lime plaster:
- Apply the first base coat (Scratch coat)
- Rule it flat so you have a nice base
- Scratch it at 45 degree angle with a crosshatch formation
- Wait 5 days and apply 2nd base coat (Float coat
- Rule it flat and scratch using the Devils Float
- Apply 2 layers of the Top Coat
- Finish and flatten using the Sponge Float
That’s the full process in a nutshell and that’s what we’re going to show you today. There’s a lot to learn but it really isn’t something you should be scared of. It just takes a little practice and more importantly...patience.
The company I used is Ty Mawr. I used their Lime Base Plaster for the 2 base coats and Lime Top Coat (Finish) Plaster. It’s a great product to use and you can guarantee that they use the best quality materials at a reasonable price.
If you like this video then please hit the like and subscribe buttons you can be notified when we realises a new video all about plastering. And feel free to leave a comment, we’d love to hear from you!
Thanks for watching
I’ll see you on the next one.
Blaine Gray
Plastering For Beginners