Published On May 9, 2016
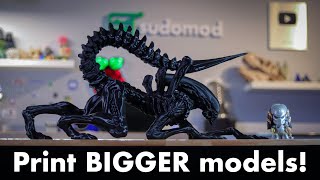
There comes a time when you want to print larger objects on your 3D Printer than your print bed allows. Well, in this 3D Printing 101 we will show you how using 3 awesome methods to achieve just this!
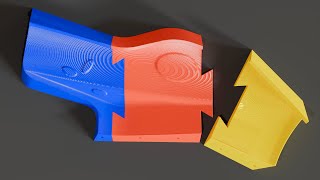
NOTE: 'slice' has two meanings! I am 'slicing' large .stl files into sections, but then you transfer these to your 'slicer' which will convert them to the many layers used for 3D Printing.
I know it's confusing - and the two share many similarities. It confused me for a very long time!
Links to software used:
Netfabb Basic (free) - http://www.netfabb.com/basic.php
Meshmixer (free) - http://www.meshmixer.com
Links to Slicers used:
Simplify3D (paid) - https://www.simplify3d.com/
Craftware (free) - https://craftunique.com/craftware
Don't forget to subscribe so you don't miss any future 3D Printing Reviews, Tutorials or Projects!
---
Like what we do?
Visit us at makersmuse.com for more information about Makers Muse!
Say G'day to us on Twitter and Instagram @makersmuse
Ways you can support Maker's Muse:
-Want to buy a 3D Printer but don't know where to start? Get our eBook here!
https://gumroad.com/products/NBvg/
- Support us on Patreon
https://www.patreon.com/makersmuse?ty=h
-Buy a T-shirt!
http://www.redbubble.com/people/maker...
- By using our amazon affiliate links
US - http://amzn.to/1Ym50j1
UK - http://amzn.to/1PJICdR
Or a direct donation through Youtube
And lastly, a BIG thanks to the community, and those who have supported us here at Makers Muse!
----