Published On Oct 29, 2017
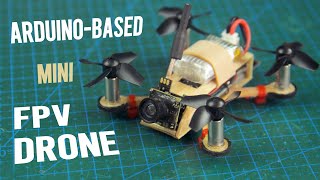
This video shows you how to use the Eachine TX03 FPV transmitter and FPV camera. How to change the power and how to change the frequency.
the battery connector of this camera is JST-DS LOSI which can be viewed here https://snag.gy/myogLf.jpg
** Purchase this from Affiliated Stores **
Amazon USA: https://amzn.to/3wap7Uq
Amazon Canada: https://amzn.to/3uOkZci
All European Amazon: https://amzn.to/3bx2WQb
AliExpress: (Transmitter, Receiver and Display): https://s.click.aliexpress.com/e/_A7gwfq
buy the extension cable for this camera https://www.amazon.ca/dp/B079PL6KQ7
Tutorial by Ahmad Shamshiri form Canada
****************************
Arduino Step by Step Course (over 150 lectures) Starts here • Lesson 00 What is Arduino? | Robojax...
****************************
If you found this tutorial helpful, please support me so I can continue creating contents like this. Here is PayPal link https://paypal.me/robojaxTV
Follow me on Facebook http://fb.me/robojaxTV
Follow me on Twitter: / robojaxtv
Follow me on Instagram: / robojax
Tutorial by Robojax.com
Get other projects code and learn Arduino
http://robojax.com/learn/arduino
*** AFFILIATE PROGRAM ***
We are a participant in the Amazon Services LLC Associates Program, an affiliate advertising program designed to provide a means for us to earn fees by linking to Amazon.com and affiliated sites.
#robojaxFPV