Published On Jul 30, 2021
At the end of last year I announced a channel project car, so where are the videos? Finally I have the first instalment, showing you how to measure and model for difficult and unusual objects like the interior of a car. Using a laser cutter and 3D printing I was able to improve the back of my Sierra, with the added satisfaction of making the parts myself!
0:00 Introduction
0:43 Winch bar (re)fabrication nightmare
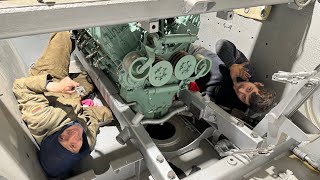
2:35 Engine swap in progress
3:13 Are Australia’s creepy crawlies that bad?
Drop bear image credit: https://independentaustralia.net/life...
3:59 Design criteria: Rear skins and storage
4:46 Initial measurements and drawing
5:28 Cardboard templates and dimensional refinement
Lightburn laser software: https://lightburnsoftware.com/
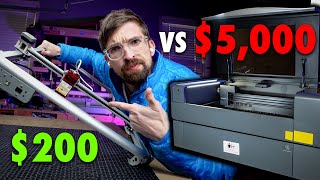
7:47 Rasterbator - laser cutter alternative
https://www.zamzar.com/ (converts DXF to jpg)
https://rasterbator.net/ (splits images into an array of 2D pages)
8:24 Laser cutting final plastic panels
9:38 3D printed insert for 12V source
ApolloX filament: https://x3d.com.au/products/apollox-h...
Previous ApolloX video: • 3D printing functional car parts with...
11:03 Rear door design
11:48 Final installation and demonstration
Rivnut tool I used: https://www.supercheapauto.com.au/p/t...
13:27 Conclusion
Buy quality and affordable filament from X3D. Buy 3, get 1 free and a free sample pack with every order: www.x3d.com.au
Get Quality Resins from 3D Printers Online. 5% off storewide for Teaching Tech subscribers [Code: tech5]
https://3dprintersonline.com.au/
Take a look around and if you like what you see, please subscribe.
Support me on Patreon: / teachingtech