Published On Mar 5, 2023
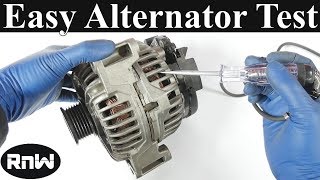
Here we are Disassembling and Prepping a Original OEM Toyota Corolla Alternator for 2012-2013 L4 1.8L. Stay Tuned for Part 2: Assembly, if you enjoyed the video feel free to comment, like or subscribe. Any place you think we can improve, let us know in the comments! Let us know if you would like to see a specific alternator rebuild! Thank you for watching, more content on the way!
PARTS BREAKDOWN FROM EBAY:
REBUILD KIT - https://www.ebay.com/itm/394506107858
BEARINGS DE & SRE - https://www.ebay.com/itm/394506130024
BRUSHES & BRUSH HOLDER - https://www.ebay.com/itm/394506220686
CLUTCH PULLEY - https://www.ebay.com/itm/394506155750
RECTIFIER - https://www.ebay.com/itm/394506163821
SLIP RING - https://www.ebay.com/itm/394506195013
VOLTAGE REGULATOR - https://www.ebay.com/itm/394506179040
PARTS BREAKDOWN FROM OUR WEBSITE:
BEARING DE - https://rcautoelectric.com/products/a...
BEARING SRE - https://rcautoelectric.com/products/a...
BRUSHES & HOLDER - https://rcautoelectric.com/products/a...
PLASTIC COVER - https://rcautoelectric.com/products/a...
FRAME SRE - https://rcautoelectric.com/products/a...
INSULATOR - https://rcautoelectric.com/products/a...
CLUTCH PULLEY - https://rcautoelectric.com/products/a...
RECTIFIER - https://rcautoelectric.com/products/a...
VOLTAGE REGULATOR - https://rcautoelectric.com/products/d...
WEBSITE: https://rcautoelectric.com/
EBAY: https://www.ebay.com/usr/randcautoelec-0
FACEBOOK: / randcautoele. .
INSTAGRAM: / autoelectri. .
TWITTER: / rcautoelectric
TIKTOK: / rcautoelectric