Published On Apr 25, 2022
Download the source files for FREE here: https://www.joelgrimes.com/new-maskin...
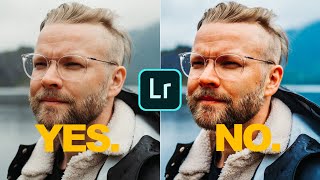
In this episode, I’m going to teach you how to get the most from your images using all the power Adobe recently released with the updates to Camera Raw.
We will take a pretty flat RAW file and do a full edit.
I love using ACR because all the edits aren’t locked in when going to Photoshop. All these features are also in Lightroom but having the edits right there in Photoshop can be a real life-saver.
______________
00:01:05 - The Goal for this Video
00:01:55 - Why I use Adobe Camera Raw and Bridge over Lightroom
00:02:45 - First Steps in ACR
00:03:17 - Select Sky in a Mask
00:03:53 - Masking Using Color Range
00:04:19 - Basic Adjustments in Black & White
00:05:14 - The Color Mixer Tab
00:05:48 - Working on the Sky
00:06:38 - Building Contrast on the Foreground
00:07:05 - Linear Gradient in the Foreground
00:07:45 - Using the Brush Tool to Subtract the Mask
00:10:20 - Making the Main Subject Pop
00:12:30 - Slight Vignetting with the Radial Gradient Tool
00:13:47 - Fixing Small Distractions
00:18:36 - Open Up the Image in Photoshop
00.19.38 - Continuing Without Destroying Your Work with Smart Objects
00:20:30 - Recovering a Flat Image Using a Levels Adjustment Layer
00:22:27 - My Favorite Final Trick for Finishing a Dramatic Landscape Image
______________
Lots of you have asked for a look into my camera bag. So here is my gear guide:
https://kit.co/JoelGrimes
______________
Stay in touch!
Facebook: / joelgrimesphotography
Instagram: / joelgrimesworkshops
______________