Published On Nov 7, 2022
Common tools used, pattern sizes etc. are linked in description below;
Video Chapters
0:00 Intro
0:14 Tools used
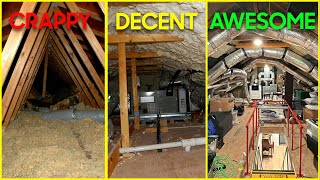
0:31 Assembly line process
3:42 Snapping pipe
4:43 Crimping
6:46 Screwing pipe
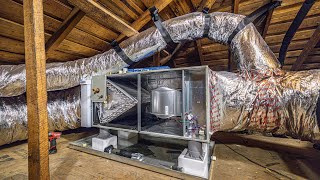
10:22 Connecting duct
11:55 Fiberglass patterns
15:17 Staple gun maintenance tips
16:15 Stapling fiberglass duct wrap
21:31 Taping seams
23:55 Applying mastic
24:41 Pattern start points and insulation "strip-outs"
26:41 Wrapping larger ducts (wider than insulation width)
37:07 Recap
38:02 Closing
Pipe Pattern Sizes (ONLY APPLIES TO 3” INSULATION);
(Note: Pattern sizes can change based on manufacturer and other factors)
ALL SIZES ALREADY INCLUDE 2” LIP!
4” = 16" + 2" Lip
6” = 23" + 2" Lip
8” = 30" + 2" Lip
10” = 38" + 2" Lip
12” = 44" + 2" Lip
14” = 52” + 2" Lip
16” = 57" + 2" Lip
18” = 65" + 2" Lip
Notes;
• Make a list of all duct to be wrapped prior to starting and have ALL tools and material required to wrap pipe. You would be surprised at how much time is lost running back and forth to the truck.
• Try to wrap in long lengths to avoid seems and save time (confirm larger sections can physically make it to their intended locations)
• Always connect reducers, end caps and even elbows prior to wrapping to save time
• Do it right the first time! Quality is important AND your reputation is ALWAYS on the line!
Tools used;
Wiss Scissors
https://amzn.to/3HKBKP5
Bostitch Staple Gun
https://amzn.to/3V8xCLN
Malco Crimper
https://amzn.to/3V7Irxt
Duct tape used
https://amzn.to/3PD7441
Mastic tape used
https://amzn.to/3HHVAdx
Razor Knife
Tape Measure
As an Amazon Associate I earn from qualifying purchases.