Published On Feb 26, 2023
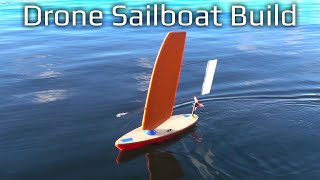
This is the second video in a series on how to build a bait boat.
PART 2: In this first video we will install the Rover firmware from Ardupilot. I will select version 4.1.5 since this video series will offer a parameter file that you may use. You should be VERY carful using parameter files in general, and especially you should avoid parameter files from older versions. If you do not intend to use the parameter file to be provided then make yourself a favor and install the most recent version available!
In addition to the firmware installation I will walk you through setting some key attributes to make the upcoming boat build process much easier. Not many parameters involved, so make yourself a favour and follow the advice. We will also calibrate the radio, accellometers and the compass.
During compass caliration I do not show how I twist the boat. So please remember to do the following:
a. Point one side of the boat north (you may also tilt it slightly towards the floor)
With each side I mean: Nose, Back, Left, Right, Upper, Bottom
b. While keeping each side north, twist the body 360 degrees sideways
One 360 degree twist for EACH side keeping it's side pointing north
In total you do this six times!
c. If not successful on first try, keep on doing the same
d. If you never succeed with the internal compass then:
Disable it. Reboot the pixhawk. Start over again
If you are able to build a 14 AWG extension lead of approx 2 meters: Remove batteries inside the boat, connect the battery using the extension lead and THEN do compass calibration. Batteries are heavy, and the twisting movements needed may possibly make your batteries tumble around and damage components inside the boat. Use of an extension lead will help avoiding a disaster.
Please note: The parameter file will be shared later in this series. I need to make sure it matches the resulting boat build, so right now I cannot guarantee that it will be perfect.
Please note that I will make the videos as the boat build progresses. It will take some time, and videos will thus become public over a period in time.
Videos planned to follow up after this introduction:
Partt 1: Introduction, power system and some general guidelines
Part 2: [this video]
Part 3: Walkthrough of the additional components bought and printed
Part 4: Building the upper hull (from parts to complete)
Part 5: Installing lower hull parts
Part 6: Adding the lower hull power and signalling system
Part 7: Finalizing boat configuration
Part 8: Combining upper and lower hulls and gluing
Part 9: Settings in Carp Pilot Pro to fully support all boat features