Published On Sep 19, 2018
This restoration WAS supposed to be 10mins long but the project is so full of cool steps and details i couldn't leave them out. So i hope you'll sit back relax and enjoy another Really Random Restoration from me :)
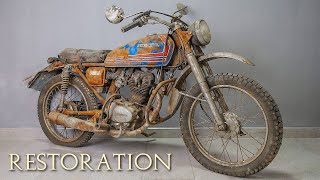
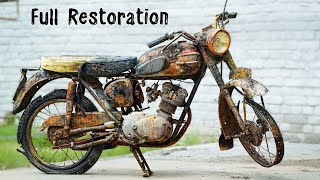
This weeks restoration is of a late 70's Honda TL125 tank. A proper little vintage gem. As you can see the tank is very battered and bruised it is full of dents filler and rust but nothing we cant sort out on this channel.
First step was the unboxing which i tried to make as fun as possible haha. Next up was to start some serious work. Yet again DEOX C came in very handy for removing all of the rust and gunk from inside the tank. Once this was done all tank openings were left sealed to prevent any crap building up inside again.
Then it was off to the blasting cabinet to remove all traces of rust and paint. halfway through i had to stop and grind most of the filler out as i didnt want to put too much stress on the compressor and ruin my blast media with lots of unwanted body filler.
After blasting it was very clear to see i had waaay underestimated how bad the tank really was. it was rippled and just crazy bent up but after a few hours with PDR rods, the knock down tool and a coffee it was back in reasonable shape and able to be body worked.
The next stage was to etch prime the tank so that i could leave it overnight without the fear of any moisture in the air starting to rust the tank. Next day i started to fill the dents and get it straight and true again this took hours to complete and there were so many lines that has to be addressed. Its actually one of the worst tanks ive had to deal with. But after this stage the tank was completely straight so straight id have been happy to paint it gloss black just to prove it ;). but anyway....
Onto the high build primer and wet flatting stages now to remove any last pits from the surface and we are all good for the first layer of paint. After the initial layer of paint its back to the bench for some serious time measuring and marking out the placement of logos and paint lines.( Ive sped this section up considerably for you guys as. )
After marking out and masking up it was back into the booth for the painting of the red and black sections. Once dry all the masking was peeled off and the Honda badges were offered up to there precise position on the tank.
Then multiple coats of clear were applied to finish the job. once The paint has aged for around a week and been fitted back onto the bike i will be flatting the clear down and buffing back to a glass like finish.
I know this video is a bit on the lengthy side but i tried to cut it down as much as possible without losing any important stages or processes.
If you like what you see and have any ideas for the channel or would even like to donate something to restore to the channel please get in touch. :)
And as usual if you liked the video please like share and subscribe and help the channel grow.
Really Random Channel