Published On Feb 25, 2019
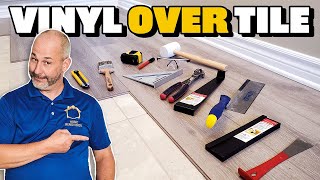
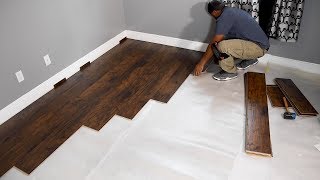
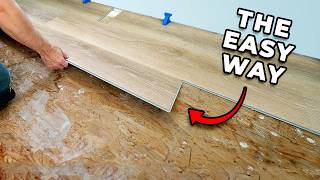
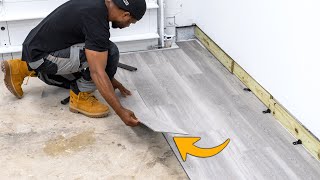
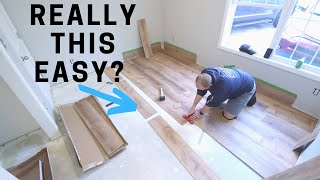
I installed vinyl flooring planks in my basement (Lifeproof Seasoned Wood variety vinyl plank tiles) that I bought from The Home Depot. My basement already had linoleum tiles that were in good condition, but they weren't very nice looking. I wanted waterproof plank tiles that looked like wood, were easy to install over the existing tiles and would be easy to get done in a few days (my basement is just under 600 sq. ft). See how I installed vinyl flooring in my basement!
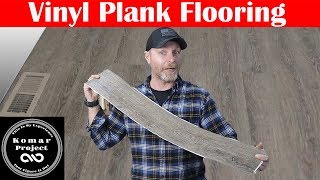
EDITED TO ADD: A few people have mentioned that I didn't stagger all the boards. That's not the case. This is a multi-plank flooring, which means the small tiles are 4.5" wide, the medium is 5.5", and the large is 10" wide. The instructions and the display at Home Depot all show that the 4.5" and the 5.5" planks, when snapped together, are treated as a single plank. Therefore, once snapped together, I staggered them as if they are one plank. Hope that makes sense! For more questions about how I did this, email me: [email protected], or leave a question below! :)
SHOP this vinyl flooring at HomeDepot.com (affiliate link):
https://www.homedepot.com/p/LifeProof...
Get the materials list and read more about how to properly measure and plan your new flooring in the blog post:
COMING SOON!
//CONTENTS//
0:01 - Intro
0:53 - Why I chose Lifeproof vinyl flooring (paid for it out of my own pocket -- this isn't a sponsored video).
1:44 - STEP 1 - Measuring the length and width of your room.
3:29 - How much flooring will you need?
3:41 - STEP 2 - Trimming door moldings
4:09 - STEP 3 - Laying your first row.
5:14 - How to cut and snap vinyl tiles with a utility knife.
6:19 - How the vinyl floor locks together.
7:08 - STEP 4 - Planning the rest of the layout.
7:45 - How to measure and stagger your seams.
9:10 - TIP: Moving furniture around the room.
9:30 - TIP: Getting help (check out my kids!)
10:12 - STEP 5 - Managing the multi-width planks.
11:29 - Additional help for planning cuts.
14:14 - How long this project took.
14:52 - STEP 6 - How to make irregular cuts (my mistakes!)
17:19 - TIP: Save your cut pieces.
17:48 - STEP 7 - Finishing up near the stairs and doorway.
20:14 - STEP 8 - Gluing down floor transition piece.
20:31 - STEP 9 - Attaching PVC baseboards.
21:08 - Final cost breakdown and BEFORE and AFTER pics!
22:06 - Come back for my next tutorial: fixing big holes in your ceiling!
**********
Check out my Project Gallery:
https://thriftdiving.com/projects?utm...
Subscribe to my mailing list for 5 additional freebies:
https://thriftdiving.com/subscribe?ut...
***************
BLOG: https://thriftdiving.com
EMAIL: [email protected]
FACEBOOK: / thriftdiving
PINTEREST: / thriftdiving
INSTAGRAM: / thriftdiving
TWITTER: / thriftdiving
SNAPCHAT: / thriftdiving
THRIFT DIVING TEE-SHIRTS: https://thriftdiving.com/shop
***************
MAILING ADDRESS:
Serena Appiah
P.O. Box 463
Spencerville, MD 20858