Published On Premiered May 23, 2023
To access Generative Fill, first download the Photoshop BETA app in the Creatve Cloud installer. Next, turn on "Synthetic Fill" in the preferences under "Early Access". To turn on the contextual task bar, enable it in the "Window" menu under "Application Frame" and "Tools".
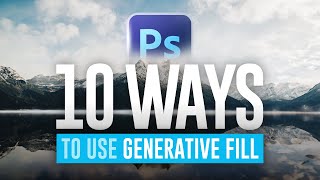
Today, we're exploring a groundbreaking new feature currently in the Photoshop Beta: Generative Fill. This tool leverages advanced artificial intelligence to modify and enhance your photos, providing functionality beyond traditional editing methods.
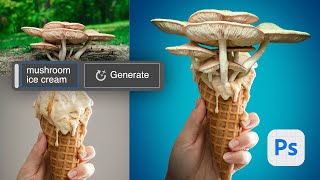
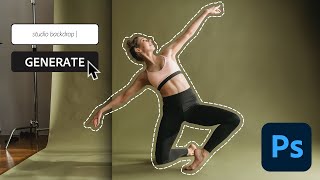
Generative Fill opens up numerous possibilities, from extending photo backgrounds to removing extraneous objects, or even introducing completely new elements via a text prompt. It's a versatile tool with wide-ranging applications.
In this tutorial, we'll guide you through the various functionalities of Generative Fill, providing a detailed walkthrough and practical examples. We'll highlight how this innovative feature can streamline your editing process and expand your creative horizons.
Be sure to like, share, and subscribe to keep up with the latest updates in Photoshop. Your feedback is invaluable, so leave a comment on your experience with Generative Fill and how you're planning to incorporate it into your editing workflow.
🔥 Master professional-quality Photoshop with PHLEARN PRO 🔥
https://phlearn.com/
🤩 Join to get exclusive videos, early access to new content and more! 🤩
/ @phlearn
💕 Subscribe for FREE Photoshop Tutorials! 💕
/ @phlearn