Published On Jun 24, 2020
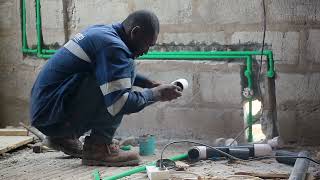
Installing a Bathroom Water Heater for Comfortable and Convenient Hot Water Heater
Installing a bathroom water heater can provide comfort and convenience. Here's a detailed guide to help you through the installation process:
*Materials You'll Need:*
- Water heater unit (tankless, storage-type, or instant)
- Mounting brackets (if required)
- Exhaust pipe (for gas units)
- Pipe fittings (for plumbing connections)
- Gas line (for gas units)
- Venting kit (if required)
- Flue pipe (if required)
- Flexible water hoses
- Teflon tape
- Pipe wrenches
- Screwdriver
- Level
- Measuring tape
- Gas leak detection solution (for gas units)
- Safety gloves and goggles
*Installation Steps:*
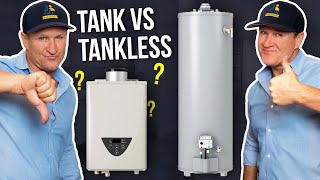
1. *Select the Water Heater Type:*
- Choose the appropriate water heater type based on your needs (tankless, storage-type, or instant).
2. *Choose Installation Location:*
- Select a suitable location with proper ventilation, access to plumbing lines, and compliance with local regulations.
3. *Read Manufacturer's Instructions:*
- Familiarize yourself with the manufacturer's installation guidelines specific to your chosen water heater model.
4. *Prepare Installation Area:*
- Clear the installation area and ensure proper spacing around the water heater for maintenance.
5. *Install Mounting Brackets (if needed):*
- For tankless or storage-type water heaters, install mounting brackets securely on the wall.
6. *Install Venting System (if needed, for gas units):*
- If you're installing a gas water heater, assemble and install the exhaust pipe and flue system according to manufacturer guidelines.
7. *Connect Gas Line (for gas units):*
- If applicable, connect the gas line to the water heater's gas inlet using the proper fittings.
- Check for gas leaks using a gas leak detection solution.
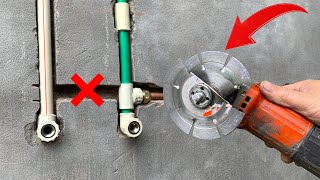
8. *Connect Water Lines:*
- Connect the water heater to the hot and cold water lines using flexible water hoses and appropriate fittings.
- Use Teflon tape on threaded connections to prevent leaks.
9. *Position and Secure the Water Heater:*
- Place the water heater onto the mounting brackets (if applicable).
- Use a level to ensure it's positioned correctly and level.
10. *Connect Exhaust Pipe (if required):*
- Connect the exhaust pipe to the water heater and route it to the outside according to local codes.
11. *Adjust Thermostat Settings:*
- If your water heater has a thermostat, set it to your desired temperature.
12. *Test the Water Heater:*
- Turn on the water heater and test hot water production.
- Check for leaks around connections and fittings.
13. *Educate Users:*
- Provide information on how to operate and adjust the water heater's settings.
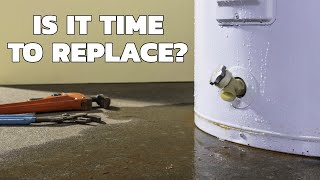
14. *Maintenance and Safety:*
- Regularly inspect the water heater for any signs of corrosion, leaks, or issues.
- If gas-operated, ensure proper ventilation and monitor for gas leaks periodically.
Always adhere to local building codes and safety regulations when installing a water heater. If you're not comfortable with plumbing or gas-related work, consider hiring a professional plumber or technician to ensure a safe and compliant installation.