
Published On Feb 24, 2019
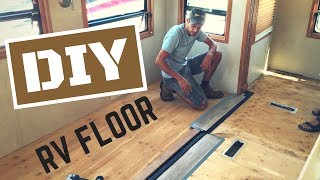
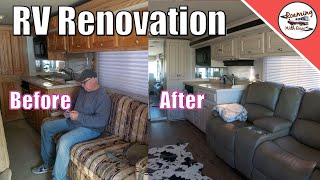
What a transformation! This phase of our RV renovation shows the full installation of new vinyl plank RV flooring in our Class C motorhome.
Website : https://rvwithtito.com
Patreon : / rvwithtito
Discounts on Popular RV Gear : https://rvwithtito.com/discounts
Gear, project parts and tools : https://www.rvwithtito.com/gear
WATCH THE ENTIRE RV REMODEL SERIES HERE : • CLASS C RV RENOVATION (2019-2021)
CLICK HERE for a Full List of REMODEL PARTS : https://www.rvwithtito.com/parts/rv-r...
MORE ABOUT THIS EPISODE
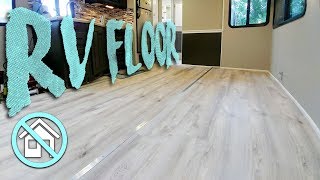
With all old RV flooring removed it was time to install new flooring from the cab of our Class C motorhome all the way back through the bathroom to the bedroom. We decided to keep the carpet in the bedroom for now.
WHAT TYPE OF FLOORING DID WE USE?
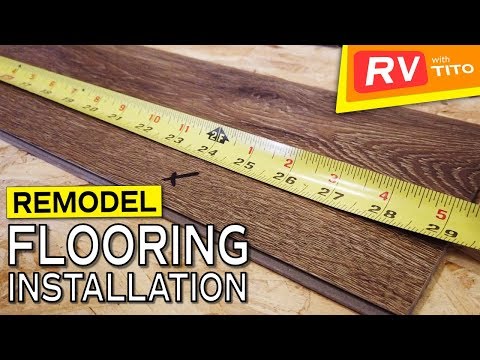
We chose Stainmaster vinyl plank flooring from Lowes. I bought 9 boxes of flooring at around $45 each. In the end I used six boxes of flooring and returned the rest. Each plank is 6 inches wide by 48 inches long. The interior walls of my RV span 8 feet. The six inch width includes the snap-in portion, so the actual visible width of each plank is just under 6 inches.
FLOORING INSTALLATION
There are very few long walls on my RV. Most have walls, cabinets or slide outs. I chose to start in the living room facing towards the back working my way from left to right towards the slide out.
LAYOUT: I offset each plank by ½ its length (2 ft) and chose planks from across multiple boxes to alternate the plank wood grain design.
CUTTING: Cutting this material is very easy. Using a straight edge, score along the cut line with a utility knife and snap it off.
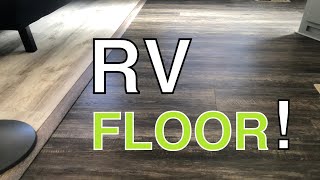
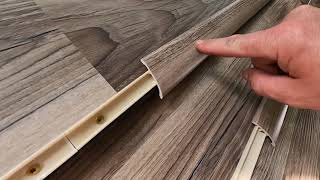
ASSEMBLY: The vinyl planks snap together from left to right and front to back. I followed the instructions to assemble them. The ends often needed to be hammered into place with a rubber mallet. When done, there is almost no visible seam between planks.
TRIM: I picked up new trim pieces to dress up the edges along the walls. Some were painted to match the wall color. I was able to match the cabinet color so no painting the ones next to the cabinets. In water sensitive areas (bathroom), I put a very small bead of silicon under the trim before driving a few finishing nails in.
STAIR AND CAB TRANSITIONS
I picked up some 90 degree aluminum transition pieces and cut them to size with a Dremmel and hacksaw. Then I nailed them into the flooring to secure them.
CHALLENGES
Cutting custom pieces to fit around the entry stairs and through the bathroom door took a bit of time to get just right. Other than that, there were no real problems. I took my time and planned out each row before laying it down.
MORE INFORMATION
This article documents the entire remodel and includes all videos:
https://www.rvwithtito.com/articles/c...
#rvwithtito #rvrenovation #rvremodel
Disclaimer
The opinions expressed in our videos are our own or from a contributor. Before taking on any project or making a large purchase, we recommend you do your own research and consult a professional for advice. We are NOT liable for any damage to your RV or injury incurred as a result of following our tips, advice or instructions. We are not RV professionals or certified technicians. We are simply RV owners who work on our own RVs and have a desire to share what we learn with others. Be responsible and know your limits.
Affiliate Disclosure
This video may include links to merchants with affiliate programs who pay us a commission on purchases made or actions taken after clicking the link. We are a participant in the Amazon Services LLC Associates Program. As an Amazon Associate we earn from qualifying purchases.