Published On Sep 19, 2021
I am starting a hackaday project to give detailed explainations on "how to do it". Please refer first to this page !
https://hackaday.io/project/185196-pu...
Please do not hesitate to "like" both this video and the project on hackaday !
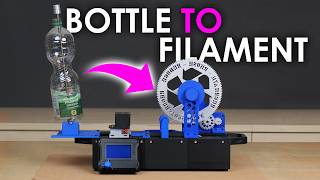
I saw on youtube a few videos of guys recycling plastic PET bottles into 3D printer filament spool.
Here are some links :
• How to Make free & easy filament for ... a full serie of videos quite long to wait week after week ...
• #2 Bottle Cutter - Details of free fi...
Finally I tried to make my own "pullstruder".
You will need :
- to put some pressure into a PET bottle (2 bar). This is optionnal
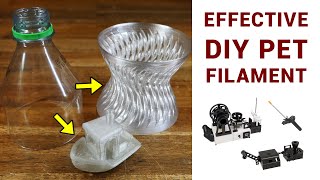
- hot gun the bottle to remove all the "carvings" and get an "almost cylinder" : 0:20
- cut the bottle into a ribbon : 1:35 . Plans for a really good "roller cutter" are here : https://davehakkens.nl/community/foru...
- you can make "cheaper" one but not as good with a simple cutter blade
- build an extruder. For this first prototype, I simply drilled a cylinder of aluminium à 1.75mm diameter. - Then I made a conical shape from 1.75mm to 10mm. So that the filament can enter the hotend and is progressively curved to 1.75mm.
to produce heat I simply used a cheap chineese PID controler equiped with a thermocouple sensor
https://s.click.aliexpress.com/e/_AX9....
- the PID is controlling a ceramic band heater :https://s.click.aliexpress.com/e/_A9N....
Here is how to wire PID and band heater. don't forget that it is powerd by MAINS voltage. This could be letal ... you will be warned !
The detailed wirings : • FILAMENT EXTRUDER PART 8 * HOW TO WIR...
Then I designed a winder using an old wiper motor. You will need really a lot of torque to pull the ribbon. A strong and well reducted motor is a MUST...
3D printed parts are on thingiverse : https://www.thingiverse.com/thing:496...
Finally I successfully "pullstruded" my first filament. One bottle produces 6m of PET filament. 3:12
And I tried to print with this filament the gear to adapt the wiper motor to this winder !
The temperature to print must be high enough. After several failures I got a working set point at 270°C
The printed part adheres very well to the bed at PETG temperature (90°C).
Apart for the filament temperature, the settings are the same as regular PETG.
If you want to join filaments to increase the "bottle size" ! • 3d printer filament joiner made with ...
Or better, use a filament run out sensor and change it as sson as it is finished. • prusa i3 mk2s filament runout detection
Now for the width of the ribbon... Here is what I did :
considering that a 1.75mm filament as a section of 2.4mm square
considering that my bottle has a thickness of 0.25mm, then the width should be 2.4/.25 = 9.6mm
I tuned my roller cutter to get (almost) this width, and you can see the result in this video !
With a hole of 1.75mm the filament when pulled has a kind of oval shape and U shape... It is 2mm wide by 1.5mm. It turns out that 2mm is not a problem for my Prusa Mk2S :-)
And I believe that the section is close enough to 2.4mm^2 as the printed result is not that bad.
Still some improvement to be done but for a first attempt I am quite satisfied !
A few months after, I have printed a lot of bottles. And it works pretty well.
You will see on thingiverse that drying your filament before printing can improve a lot the quality of the print. PET is very sensitive to moisture and can absorb water in any room and very fast. Dry your filament into a kitchen oven at 65°C during 1 or 2 hours minimum. Then use your filement as soon as possible